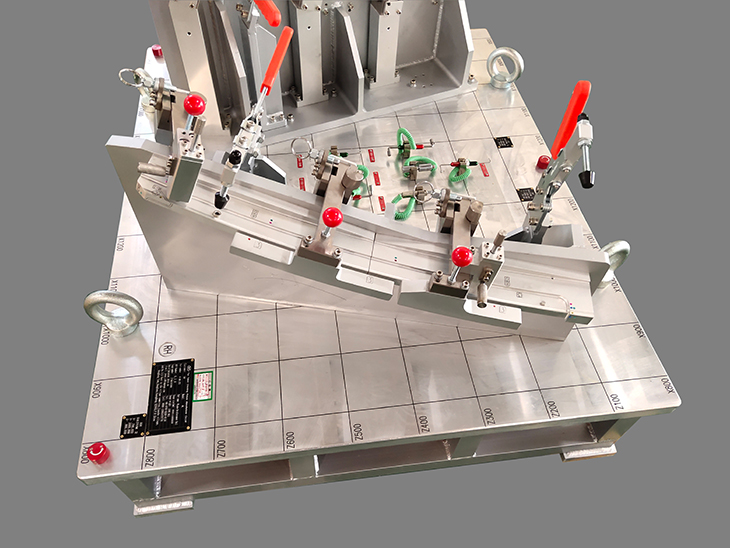
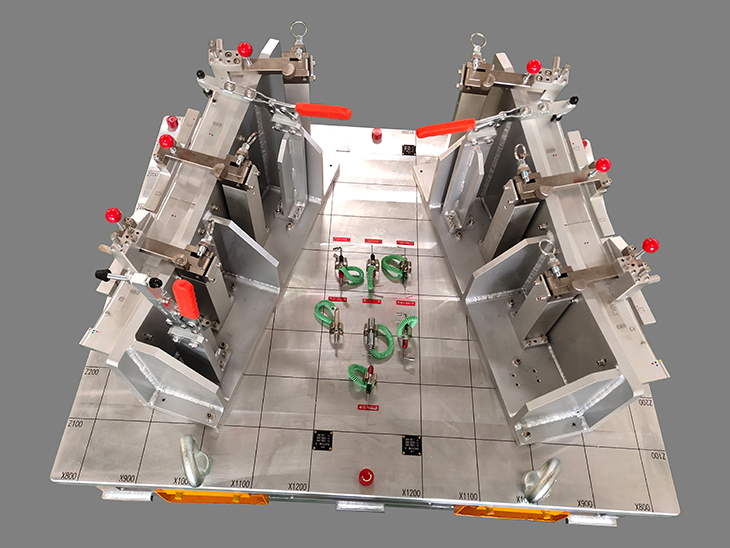
TTM19388 checking fixture has high measurement accuracy, no fear of deformation, low maintenance cost and good convenience. Key product characteristic inspection, characteristic line inspection, function hole inspection, area detection which is prone to deformation in assembly process, for automobile assembly and production function matching inspection. In the production process of automotive parts, on-line inspection of automotive parts is realized, which ensures the rapid judgment of the quality status of automotive parts in production, ensures the safety and processing speed of automotive assembly, and improves the quality of automotive parts.


operation sequence
1.Visual inspection to check part sharp edges ,cracks and burrs.
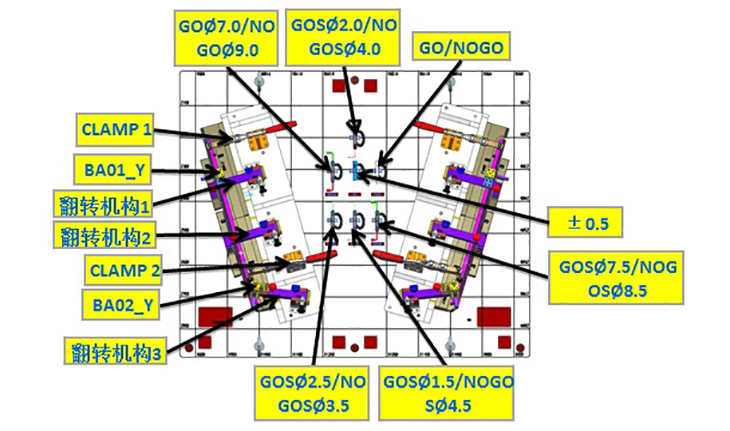
2.Using GO/NOGO to detect the size of hole of product.
3.Open the clamp and flip mechanism,Put the product on the main body.
4.Adjust the product so that it is in good contact with zero stickers.
5. Close the clamp and flip mechanism in sequence.
6.using the feeler 1(GOS?2.5/NOGO ?3.5)to check the profile 1.0mm.
7.using the feeler 2(GO ?7.5/NOGO ?8.5)to check the profile 1.0mm.
8.using the feeler 3(GO ?7.0/NOGO ?9.0)to check the profile 2.0mm.
9.using the feeler 4(GOS?1.5/NOGOS?4.5)to check the profile 3.0mm.
10.Use ±0.5 to detect the edge of the product.
11.Recording results on the inspection sheet.
12.Unclamping and removing part.

